I. Preparation Before Installation
1. Site Selection
Choose a well-ventilated, dry, flat area with sufficient load capacity to install the liquid nitrogen freezer. Avoid damp, high-temperature, or corrosive environments.
Ensure there is enough space around the site for operating, maintaining the equipment, and storing and transporting liquid nitrogen.
2. Equipment Inspection
Before installation, carefully check all parts of the liquid nitrogen quick freezing machine to ensure they are undamaged and complete, with no transport-related damage.
Verify that the equipment's model, specifications, and technical parameters match the purchase contract.
3. Tools and Materials Preparation
Prepare the necessary installation tools, such as wrenches, screwdrivers, and pliers.
Gather required installation materials, including sealants, washers, and cables.
4. Safety Gear Preparation
Installers should wear appropriate safety gear, such as hard hats, protective gloves, and safety goggles.
II. Installation Steps
1. Positioning the Equipment
Carefully place the liquid nitrogen quick freezing equipment at the selected site using lifting equipment or a forklift, ensuring it is level and stable.
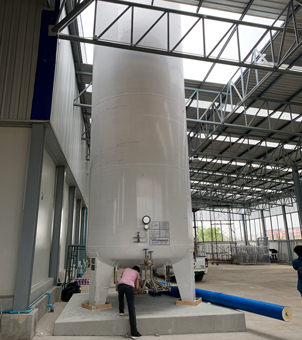
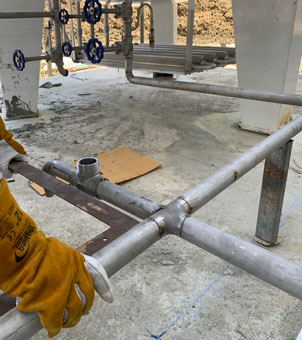
2. Connecting the Liquid Nitrogen Supply Line
Connect the liquid nitrogen supply line to the equipment's nitrogen inlet, using suitable seals to ensure a tight, leak-free connection.
Before connecting the line, make sure the inside is clean and free of debris.
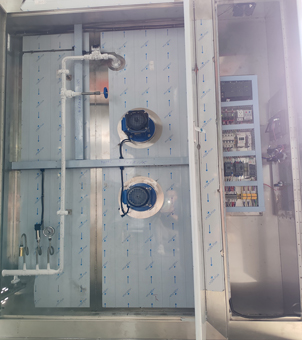
3. Electrical Connections
Follow the electrical schematic to connect the power cable to the equipment's power interface.
Ensure the electrical connections are secure, properly grounded, and meet safety standards.
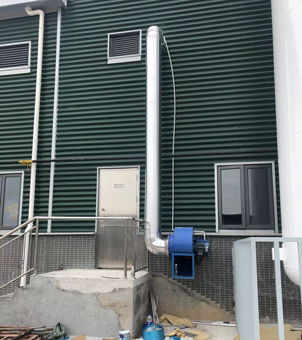
4. Installing the Ventilation System
If the equipment requires a ventilation system, install it according to the provided instructions to ensure proper airflow and the timely removal of nitrogen gas produced during operation.
5. System Testing
After completing the installation steps, conduct system testing.
Check that all connections are secure and that there are no loose parts.
Test the electrical system to ensure it functions correctly.
Test the liquid nitrogen supply and freezing system to check the freezing performance and nitrogen usage.
III. Post-Installation Inspection and Acceptance
Visual Inspection: Check the equipment for any damage, deformation, or paint peeling.
Leak Check: Use a leak detector or soapy water to check the nitrogen supply line and other connections for leaks, ensuring there are none.
Operational Testing: Run the equipment for a while to observe its operation, including temperature control, pressure readings, and operational sounds.
Performance Acceptance: Based on the technical parameters and performance indicators, verify the freezing speed and effectiveness to ensure the equipment meets usage requirements.
IV. Precautions
Follow the installation manual and relevant standards strictly during the installation process; do not change steps or methods without approval.
Installers should have the necessary professional knowledge and skills, familiar with the installation process and safety precautions for liquid nitrogen freezers.
If any issues or abnormalities arise during installation or testing, stop work immediately, investigate the cause, and resolve the issue before continuing.
After installation, provide users with a detailed operating and maintenance manual and offer necessary training.
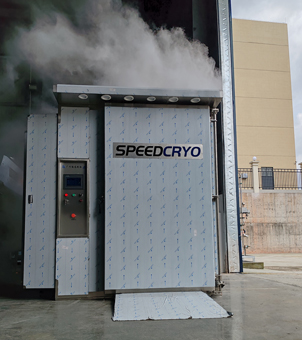
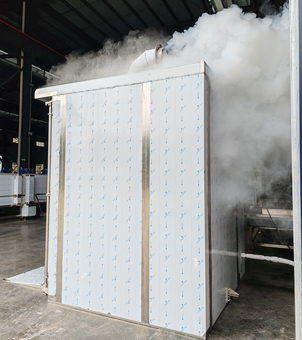
SPEEDCRYO provides on-site installation services, including:
Site inspection, planning, and technical proposal services before equipment purchase;
On-site installation, debugging, and trial operation guidance after equipment arrival;
On-site operation guidance;
Guidance for installing liquid nitrogen tanks and pipelines;
Guidance for exhaust pipe installation for the liquid nitrogen freezer.
If you need our professionals to provide site planning services before purchasing, feel free to contact us; it’s completely free!
